Kanaka for Mac

Get a Free 30 Day Evaluation of Kanaka for Mac!
|
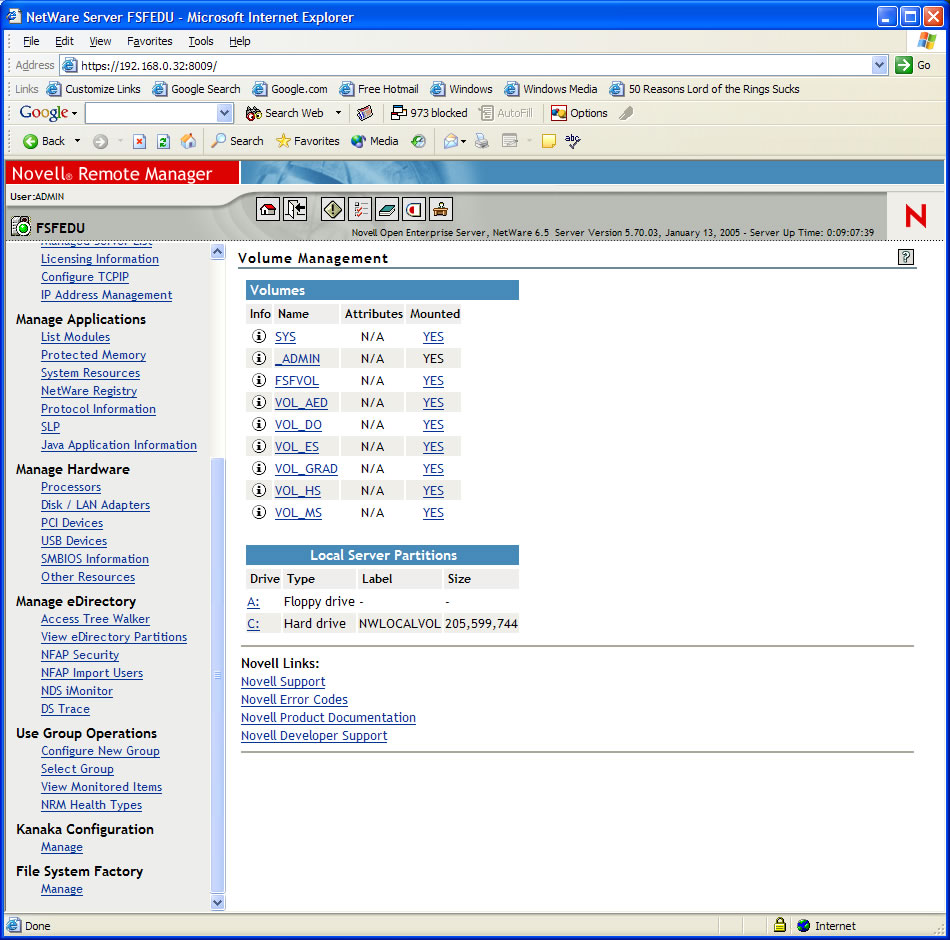
From a web browser, access the Novell Remote Manager: http://<server_ip_or_DNS_name>:8008 or https://<server_ip_or_DNS_name>:8009 Access the Kanaka Management Interface using the NetWare Remote Manager menu option.
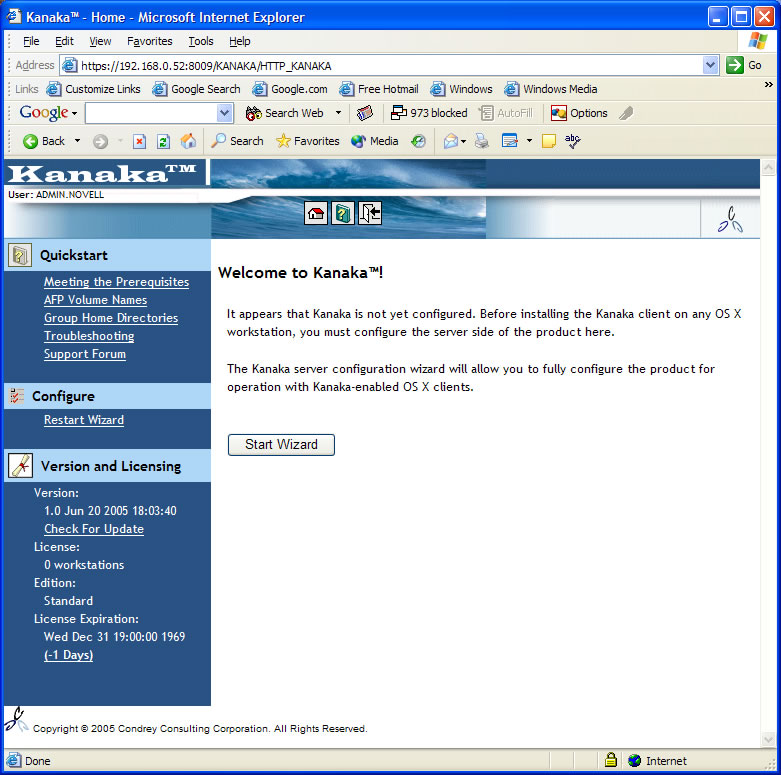
Enter the Kanaka Configuration Wizard by clicking the “Start Wizard” button.
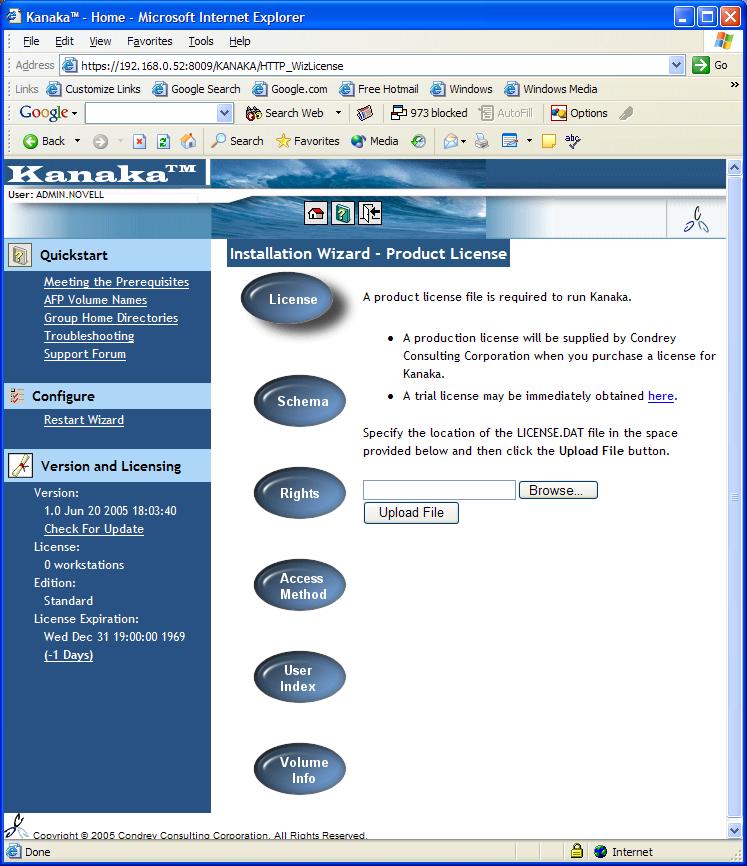
Follow these steps to complete the wizard: Step 1 – Install a Product License Key Enter the location of the Kanaka license file. This file will be provided to you when you license the product.
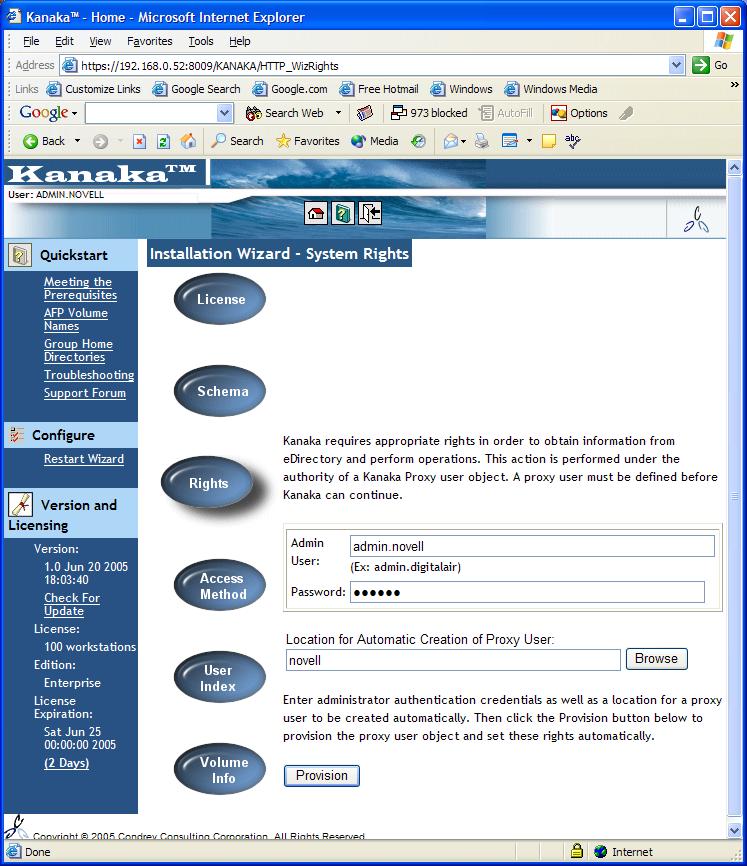
A trial key may be obtained on this page by using the provided link. All Kanaka trial keys will be generated to enable features in line with the Enterprise Edition of the product. The specified file will be uploaded and placed into the installation directory, then automatically imported for use. After the initial installation and configuration, license files may be replaced at any time and immediately activated by reloading the NLM. Step 2 – Install the required schema extensions. Enter the login credentials for an administrative user with appropriate rights to extend the schema. As with all extensions, be aware that in a large tree, it may take some time for the schema extensions to be synchronized in the tree. Step 3 – Create the Kanaka Proxy User. KanakaSC authenticates and operates under the rights of a proxy user.
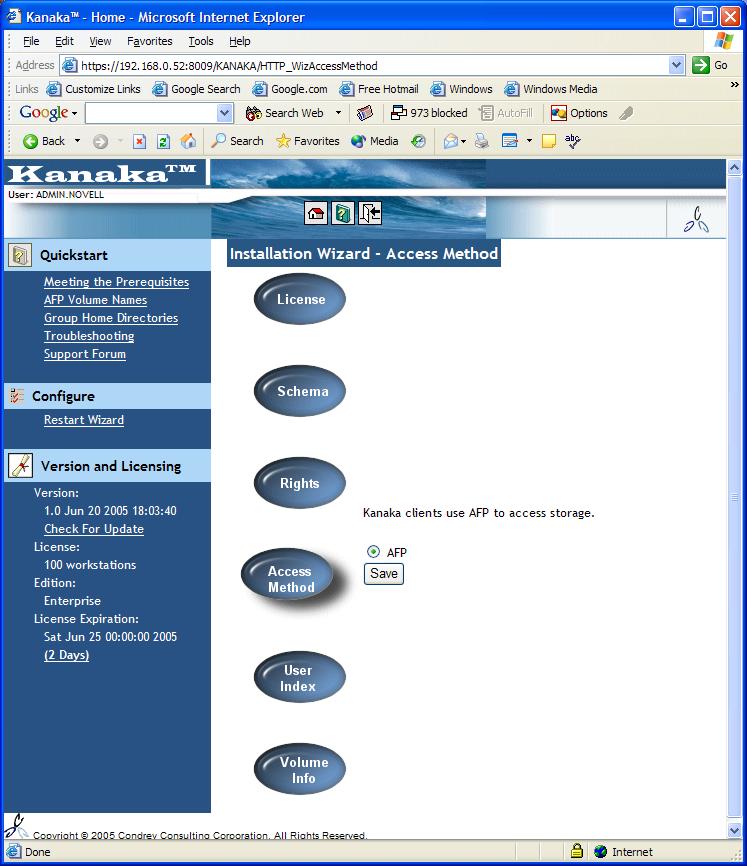
This user needs rights as appropriate to retrieve user and group information from eDirectory as well as view quota information in the file system of all volumes holing user and collaborative storage. Enter the tree location for the wizard to create the Kanaka Proxy User. Enter the login credentials for an administrative user with appropriate rights to provision the user and grant it appropriate rights in the tree. The proxy user account and password will be self-managed by KanakaSC. The password is never stored in any location so there is no cause for concern with regard to security of the password. No two Kanaka installations will ever have the same password. Step 4 - Select preferred access method.
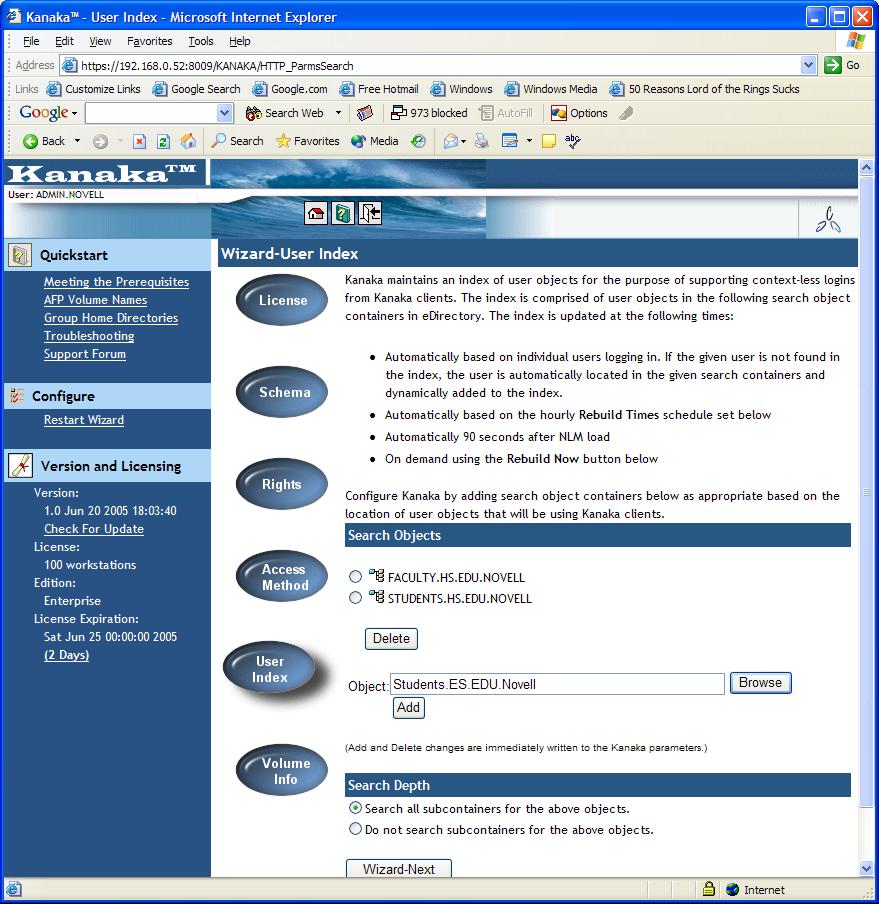
Click the Save button to set AFP as the preferred access method. In the near future, either AFP or CIFS (SMB) will be selectable here. Step 5 - Build the initial index of users. Kanaka maintains an index of user objects for the purpose of supporting context-less logins from Kanaka clients. The index is comprised of user objects in a set of search object containers in eDirectory.
Browse for or enter one or more contexts, adding each context to the list. Last, click the Wizard-Next button. This will build the initial index of users. The index is updated at the following times:
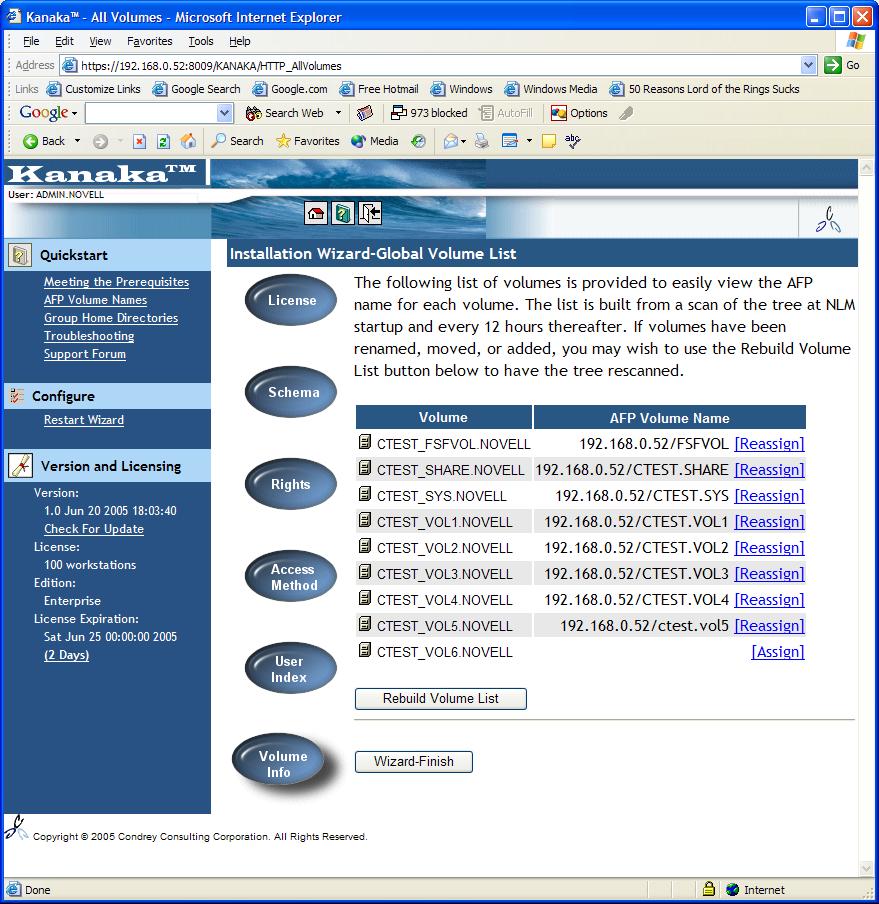
Step 6 – Store AFP volume names in eDirectory. It is required that eDirectory hold the AFP volume name for each volume on the network containing home directories or collaborative storage. (See the next section on Setting Volume Names for a complete description of the process Kanaka uses to retrieve mount points for OS X clients.) It is very important to store the AFP name for the volume where the Kanaka master directory holding KANAKASC.NLM is located. Otherwise, proxy directories will not function properly. If the volume list is empty, this is indicative that the initial volume index has not yet completed. Please wait until the server has completed this task. Hit reload in the browser to refresh the page.
After each volume is stored, click Wizard-Finish to terminate the wizard. The Kanaka Server Component is configured and ready to use. |
||
| Privacy | Contact © 2005 Condrey Consulting Corporation. All Rights Reserved. | |||